No products in the cart.
Solid ND filters are an essential part of my landscape photography kit, yet I come across many photographers that do not use them. Put quite simply; ND filters are a dark piece of glass or resin that you put in front of your lens to let less light into the camera. What this achieves is a slower shutter speed without having to change your aperture.
What is wrong with stopping down your aperture to f/22 to achieve a slower shutter speed? Diffraction.
Diffraction is caused by light bending around an object. In this case, the small hole of the aperture at f/22. This bending of light causes softness of the image throughout the entire scene. To maintain image sharpness, you should not stop the aperture down past f/13 (f/9 on a crop sensor). Below is a crop of the same scene, f/8 on the left, and f/22 on the right. You can clearly see the loss of sharpness and lack of micro-contrast.
f/8
f/22
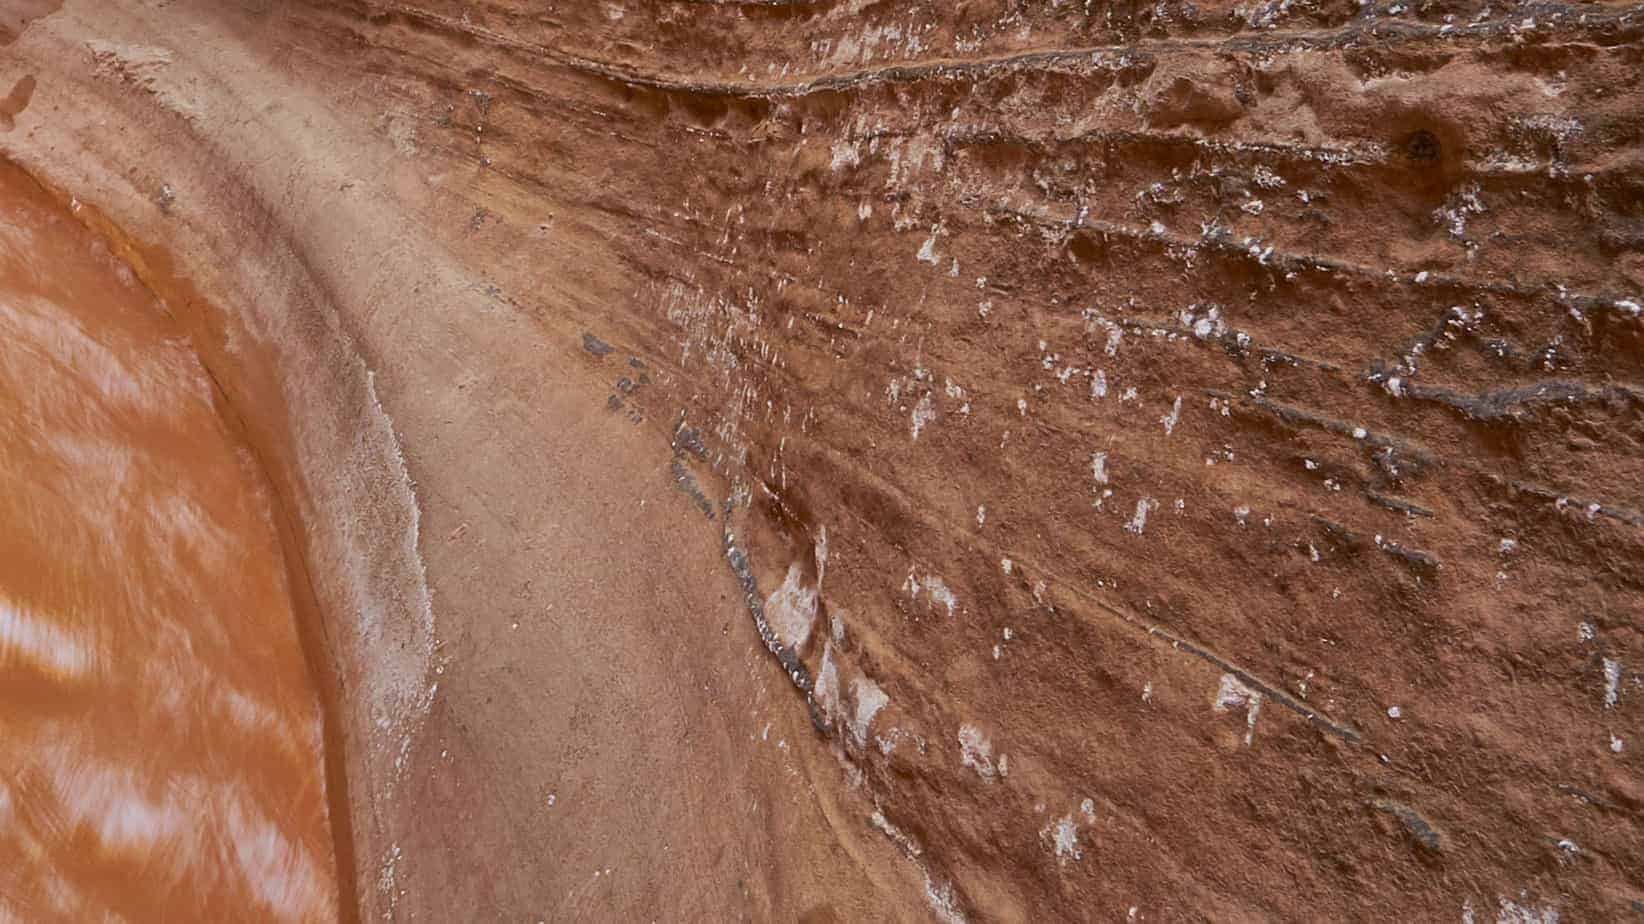
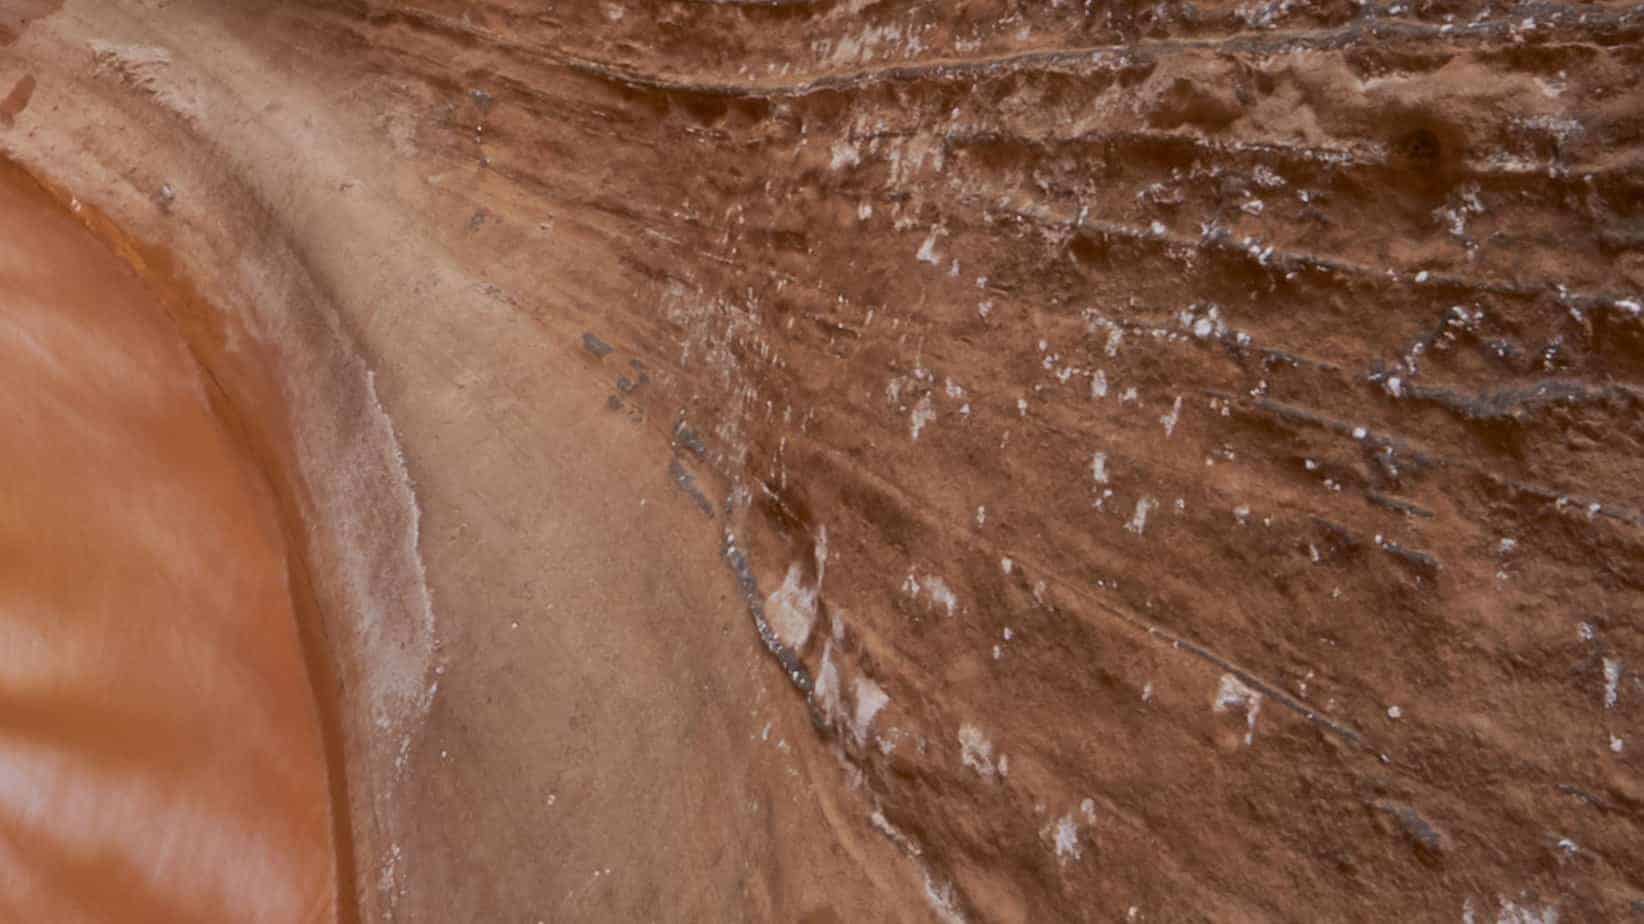
← SLIDE →
These ND filters should not be confused with graduated ND filters, graduated filters are dark on the top and gradually become clear at the bottom. A solid ND filter is completely dark and intended to change the exposure by letting in less light throughout the frame.
Solid ND filters come in a variety of darkness values and are labeled in different confusing terms. The most commonly used term is ‘Stops’.
3 Stops = ND8 or ND0.9
This filter is often used when you need to slow down your shutter speed slightly. When shooting a scene with a river you may want to have texture in the water rather than a smoothed out cotton effect, to achieve this you need a shutter speed around 1/4 of a second. For example, if you were shooting at f/8 ISO 200 and your meter read 1/30s without a filter, putting on a 3 stop filter would give you the desired shutter speed of 1/4s. You could achieve the same shutter speed by stopping down to f/22 and avoid using the filter, but this would also increase the diffraction by using such a small aperture, causing your image to be soft. Using the 3 stop filter in this instance allows you to keep the sharpness of f/8 while getting a slower shutter speed.
6 Stops = ND64 or ND1.8
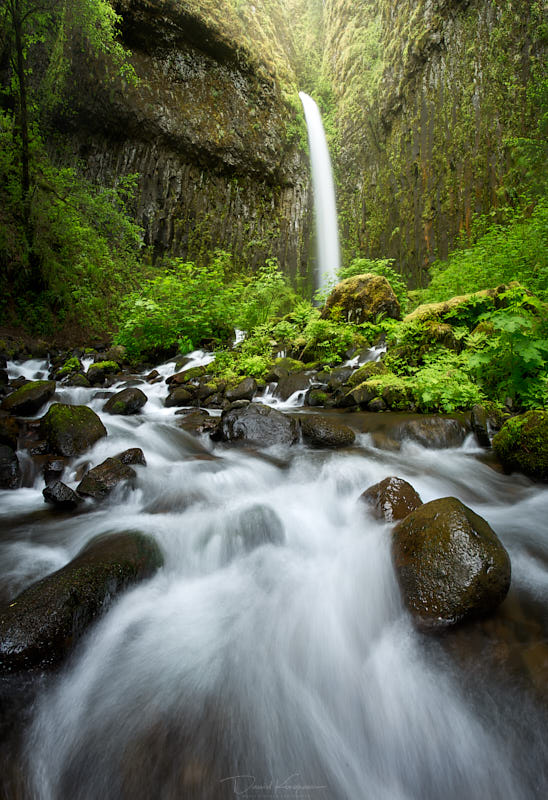
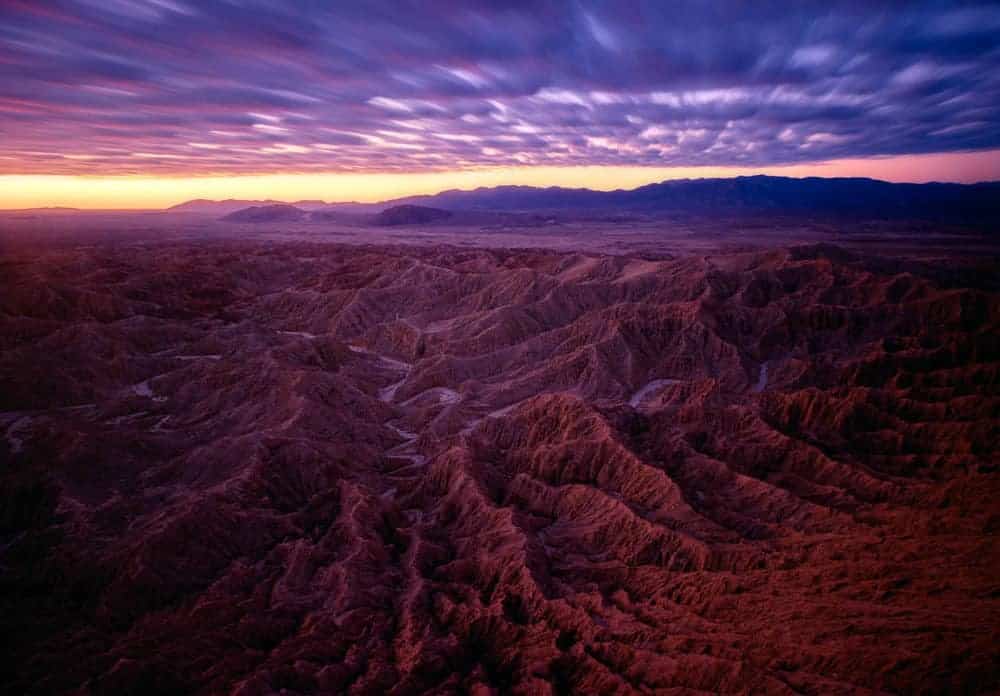
This is the most useful filter for grand landscapes. When you use it during golden hour or at sunrise/sunset you will have an exposure anywhere from 30 seconds to 4 minutes. This will cause any moving clouds to blur and streak across the sky, showing interesting movement. The longer shutter speed also captures more colors due to the changing colors in the clouds.
10 Stops = ND110 or ND3.0
When skies are brighter than sunset, like overcast conditions or just dense clouds, a 10 stop can be very useful. I would not start out buying this filter unless you have money to spare or know you want to do a lot of very long exposure photography. With a 3 and 6 stop you can stack to create 9 stops and then decide if the exposure times are long enough for what you want to achieve.
16 Stops = ND 4.8

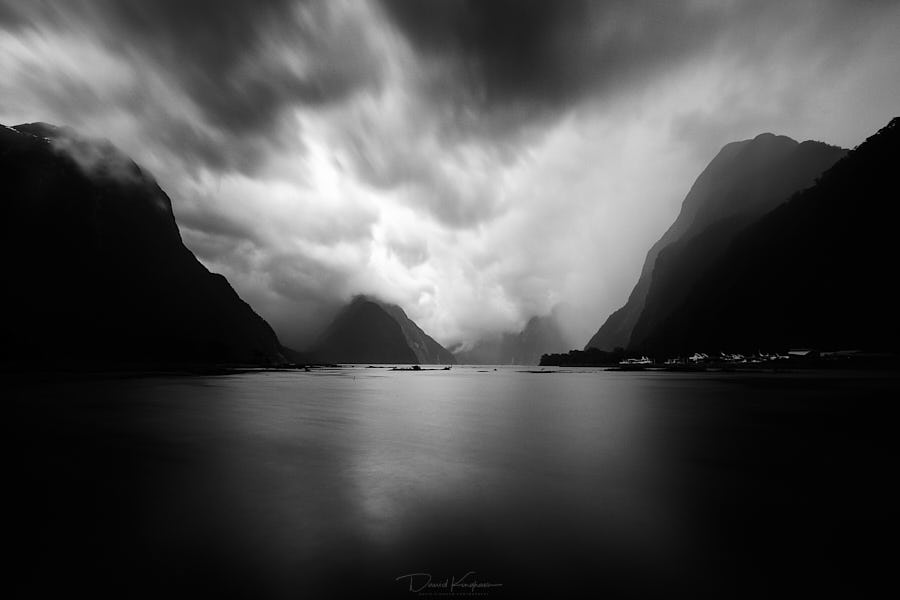
This is the filter you need for shooting in mid-day light when you want to streak the clouds, usually in black and white. A typical mid-day exposure is f/8, ISO 200, 1/800s, adding a 16 stop filter would extend the exposure to 1min 22s while maintaining sharpness at f/8. If an extremely long shutter speed is desired, you may add a 3 stop filter to achieve an 11-minute exposure. Adding a 6 stop would give you an 88-minute exposure (not recommended!)
Stacking Filters
Stacking multiple filters can be a great way to save money when more ND is needed. For example, you can stack the 10 and 6 stop filters together to achieve 16 stops rather than buying a 16 stop. This does have some downfalls, for example, the Lee Big Stopper and Little stopper each have a blue cast. When combined, the blue cast becomes stronger and harder to correct. I generally use this combination for black and white photos. If you use screw-on filters, another issue caused by stacking may be vignetting.
Variable ND Filters
These filters allow you to change the amount of ND with a simple twist, ranging from 2-8 stops. These are great in theory and can work well for many situations, but the reality is they only cover up to around 4-6 stops. When you go above that you will get banding where some areas are dark, and others are not. They also cause vignetting with ultra wide angle lenses. I would only recommend this filter if you do not shoot ultra wide, and only need 6 stops of ND. These can be great for waterfalls when you need to dial in a particular shutter speed. If you really want this flexibility on an ultra wide, get one that is bigger than your lens and use a step-down ring to avoid vignetting.
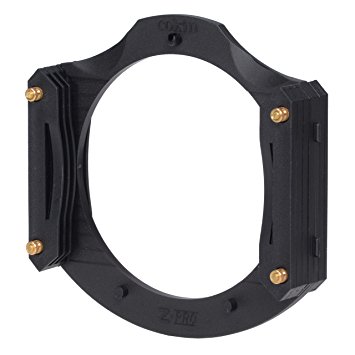
Filter Holders
Lee
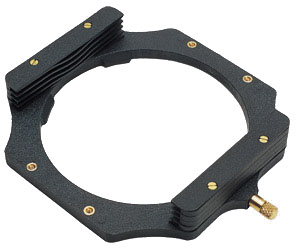
For the money, you cannot beat the Lee holder. This is what I use and have had no issues with it over the years. The only downfall is the wide angle adapters are incredibly over-priced, but you should only need one for your wide angle lens, and the other adapters can be standard.
Formatt Hitech Firecrest
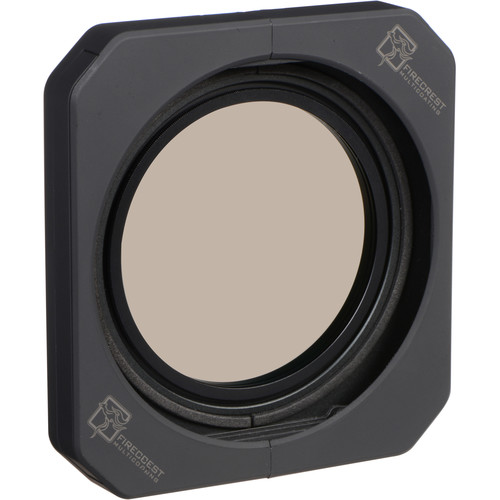
This holder is designed for exceptionally long exposures; think 20, 30 minutes, 1 hour, etc. It will prevent any light leaks around the filters themselves, which is only a problem for very long exposures. It also has a built-in mechanism to turn their specially designed polarizer without turning the holder. You can use this holder without the light blocking cover and it is just as easy to use as the Lee. Overall the best design on the market. On the surface, it appears to be more expensive, but it includes a polarizer which makes it cheaper than the Lee.
Cokin
This holder is another standard out there, I personally do not like the design and would not recommend it.
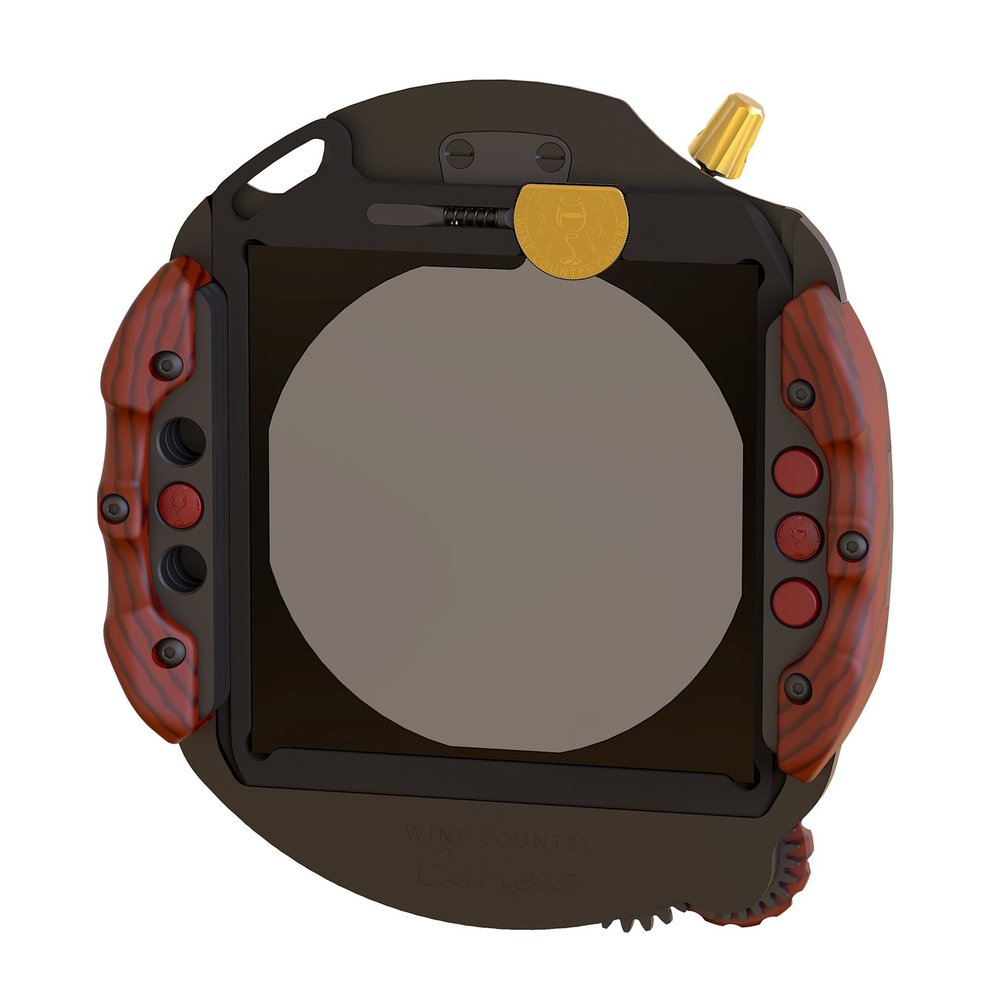
Wine Country
Probably the most beautifully designed filter holder ever, this is made to impress. It has a built-in mechanism to turn the specially designed polarizer without moving the holder. It is beautiful, but bulky and expensive.
Screw on or slide in?
There are two distinct styles of ND filters; each has its benefits and downsides.
Screw on filters
Positives
- Cheap
- Simple
- Do not require an expensive, bulky filter holder.
Negatives
- The filter size must match your lens, if you have a lens with a 77mm filter size, and another with a 67mm you would need two filters. If you go this route, I would consider purchasing an 82mm filter and buying a set of step-up rings which will adapt this large filter size to any of your lenses. The 82mm will largely future proof you from future lens purchases which may have a larger front element than you currently have.
- Cannot stack filters to achieve more ND due to vignetting, it may be possible if you are using 82mm filters on a lens with a smaller diameter.
- It is challenging to use a 10 or 16 stop filter because you cannot see through it; therefore, you must unscrew the filter each time you need to re-compose or take a new meter reading. This involves the risk of changing the focus while unscrewing the filter as well.
- Cannot use a polarizer with the ND due to the same vignetting issue.
Drop in filters
Positives
- The filters are only one size for the system you purchase; typically this is 4″x4″ (100mmx100mm), one filter for all lenses, you only purchase different adapter rings for each lens.
- You can easily stack three filters to achieve as much ND as needed without requiring extra filters.
- Easy to slide in and out to change composition quickly.
- Polarizers can be used, the type of polarizer will depend on the system, which is covered below
Negatives
- Carrying around a bulky filter holder
Filter Brands
There are a variety of brands to choose from with varying qualities:
LEE
Has a strong blue cast, which is relatively easy to correct with a white balance adjustment. Not highly recommended.
Little Stopper 6 Stop
Big Stopper 10 Stop
Super Stopper 15 Stop
Firecrest
In my tests the 16 stop Firecrest has the least color cast of any filter out there (Breakthrough was not tested at the time), the others should be no exception.
Firecrest Slide-In 3 Stop
Firecrest Slide-In 6 Stop
Firecrest Slide-In 10 Stop
Firecrest Slide-In 16 Stop
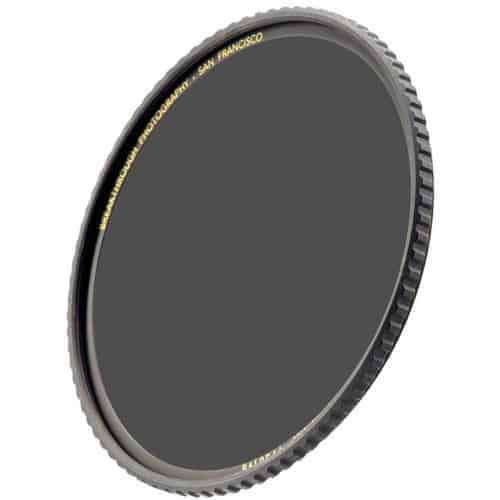
Breakthrough Photography
Likely the most color neutral filter on the market and my top choice.
Breakthrough Photography 3 Stop
Breakthrough Photography 6 Stop
Breakthrough Photography 10 Stop
Breakthrough Photography 15 Stop
Singh-Ray
In general, Singh-Ray has always been the top quality in the market for filters, but I cannot recommend their ND filters due to a strong color cast in my tests, and this has been confirmed by others.
B+W
I formerly had a screw-on B W filter which had an extreme magenta cast that was difficult to correct in post-processing.
Polarizers
Yes, you still need to use a polarizer when using an ND filter! The same reflections still exist and must be cut out to create clean photographs. You should not use a polarizer for every photograph, but when shooting water or leaves it is a necessity. Each system has a unique way of handling polarizers. The LEE system uses an expensive 4×4 polarizer, and you must rotate the entire assembly to change the amount of polarization. Wine Country uses a special round polarizer that can be turned with a geared mechanism. Formatt uses a similar system and the polarizer is included with the filter holder. Breakthrough photography has the ‘Dark CPL’ which combines their X4 ND filter with the X4 CPL which will not vignette at 16mm on full frame, a 6 stop version of this would be incredibly useful.
My Recommendation
I believe the best filters on the market are from Breakthrough Photography. The ND filters have no color cast and they have a complete lineup of filters. I would recommend a 3 stop ND, and a 6 stop ND. You can then stack these and reach 9 stops, combined with the polarizer will put you near 10 stops, which is all that most photographers will need. If you really want to streak clouds, add the 10 stop.
Update: I have updated some bits of this article because I have been using Breakthrough Photography filters, I have the complete lineup (3, 6, 10, and 15) and I am blown away by their quality. There is absolutely no color cast, which is incredible. I have also come to enjoy using screw on filters more than drop-ins now, they are lightweight and take up much less space in my pack. The problem I formerly had with screw-in filters was that you could not easily change your composition without taking the filter off, with today’s sensors in live view this is no longer a problem.
AFFILIATE DISCLOSURE
This website contains affiliate links, which means David and Jennifer may receive a percentage of any product or service you purchase using the links in the articles. You will pay the same price for all products and services, and your purchase helps support our ongoing work. Thank you for your support!

Thanks for the blog, very informative. Have you got a chance to review Gobe screw on filters?
Thanks for this excellent review. I learned a lot. Now looking’ for Breakthrough filters ND!