No products in the cart.

What is micro-contrast? Most of us are familiar with contrast; it is relatively straightforward and easy to see. Contrast is the difference between two values, the values we will be talking about are tonal values. There are also color values, but that is for another time.
The contrast between the light and dark areas are apparent in the below image, in black and white it is straightforward to see.

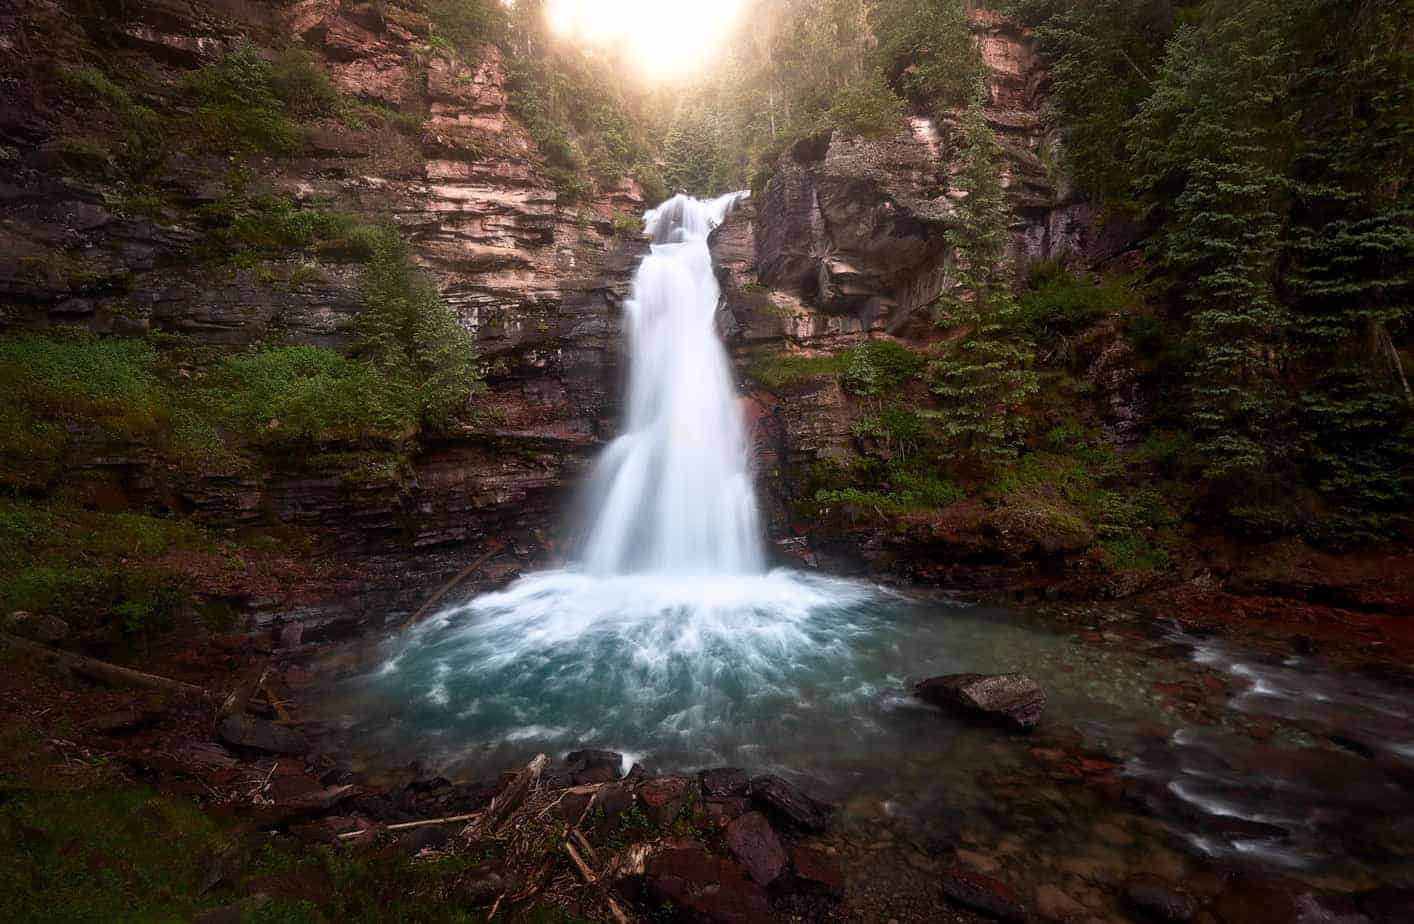
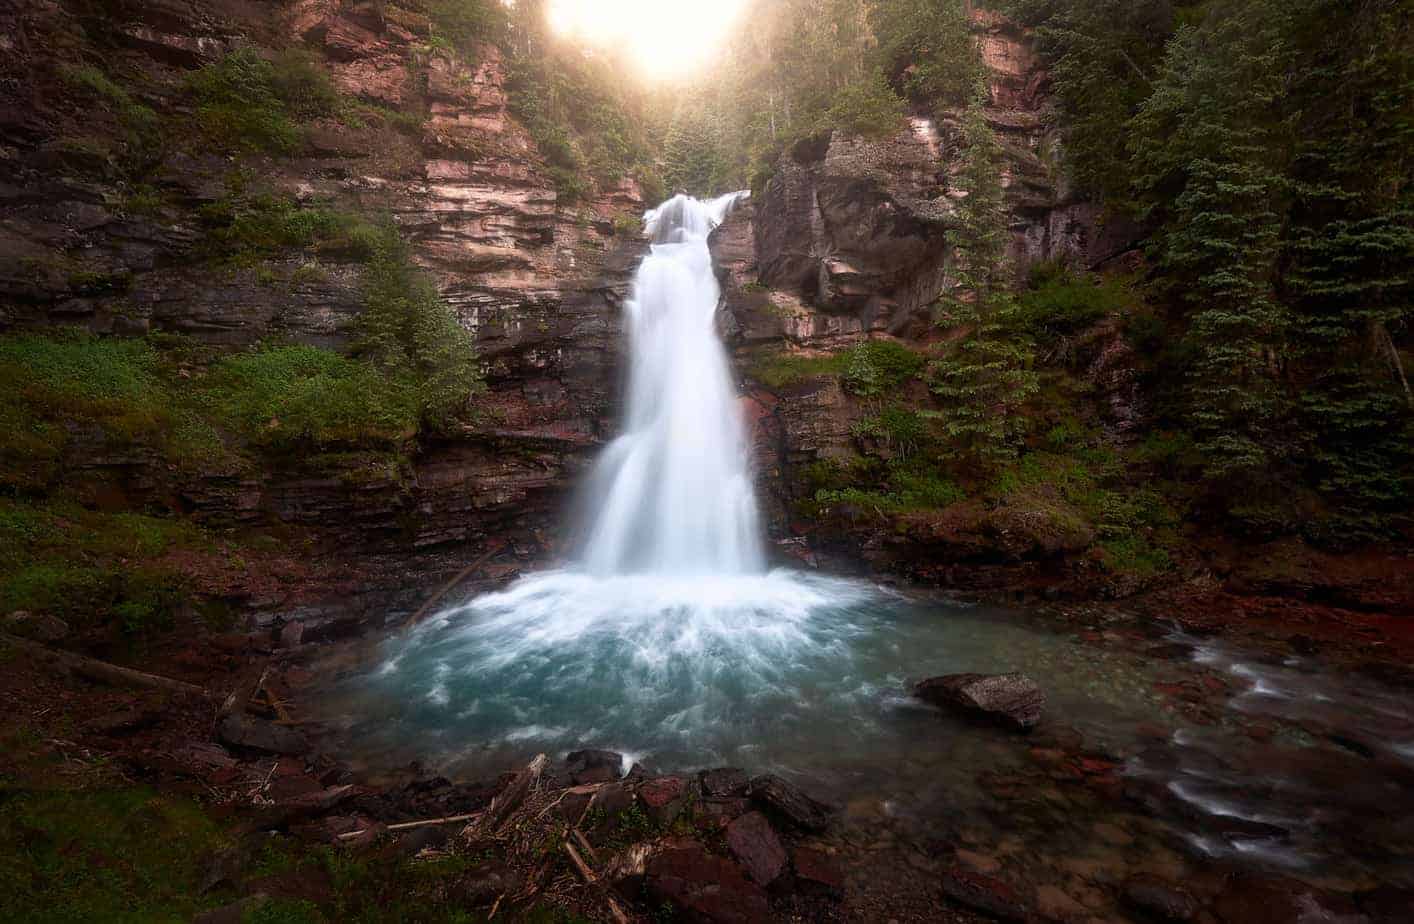
Micro-contrast (MC) is the contrast in the small details, down to the pixel level. For example; the below image is an example of low and high micro-contrast. Notice how flat and dull it is without the MC, and with MC it has a three-dimensional feel to it. It is a fairly subtle difference, but it makes a big impact.
← SLIDE →
Microcontrast
No Microcontrast


← SLIDE →
Typically, MC is considered to be created by the camera's lens. Leica lenses are highly sought after for this reason. Modern lenses for the large part have lost their MC in the quest for perfect sharpness. If you want to geek out, have a look at this article The Problem with Modern Lenses.
The purpose of this article is not for talking about lenses though. I'm going to assume that you are not going to run out and replace all your lenses with old Leica glass. I want to show you how to create MC in Photoshop.
The Photoshop Process
If you do not want to geek out and just want a Photoshop action, skip down to the bottom.
If you have a flattened image, start by duplicating the background layer by dragging it to the new layer icon. If you have multiple layers and do not want to flatten, you will need to stamp visible layers by pressing Shift+Ctrl+Alt+E.
On this new layer go to Filter > Sharpen > Unsharp Mask. In the Unsharp Mask dialog, set the amount to 20%, Radius to 60px, and Threshold to 0.

Now we need to take this adjustment out of the very darkest and lightest tones, so it is only applied to the mid-tones. There are many ways to do this, but for simplicity, I will use the Blend-If function.
To access Blend-If double click on the new layer (do not click on the name of the layer), which will bring up the Layer Style dialog. Look for the Blend If section with the black and white gradient.

Drag the black arrow in the 'This Layer' section until the first number reads as 10, now split the arrow by alt-clicking on the arrow and dragging until it reads 10/50. Now split the white arrow and drag the arrow left until the second set of numbers reads 200/255. This takes the adjustments made on this layer out of the darkest tones and lightest tones. Splitting the arrow feathers it, so it is gradually taken out.

While still in the Layer Styles dialog change the blending mode to Luminosity. By changing the micro-contrast, you can also affect the colors of the image because darkening or lightening affects saturation. By changing the blend mode to luminosity, only the tones are affected.

That's all there is to it! A simple way to add a three-dimensional look to your image by playing some tricks on the eye.
If you want an easier way to achieve this, you can download my Photoshop action to make it quick and easy. Along with this, you will get a more advanced action that uses a smart object so you can make adjustments after applying the action to dial in just the right amount of micro-contrast.

Just double click the Unsharp mask and try changing the radius and amount to give different effects.

Thank you for the informative post and the action, which I have found to be very useful. Can you comment on the relationship of this action to the texture and clarity sliders in Lightroom?
I would say it’s a bit of a combination of clarity and texture, but it does a much better job at just adding contrast to the very fine details without adding artifacts.
Thanks for the info! Learned something and set this up in PS.
Thanks David, great article!
Thank you very much for your informative post! I finally understand what micro-contrast is about. Thank you also for your generous Photoshop action though strangely it doesn’t seem to download. Still appreciate it all the same. Have a wonderful day!
You are very welcome. I’m not sure why the download is not working for you, I will send you an email with the link!
Hi, very interesting article, well done! The download unfortunately doesn’t work for me too… could you please mail it to me (: That would be awesome! (julian@roniger.eu)
Thanks!!!
Thanks for the information on microcontrast. It was very good and I enjoy seeing your photography. You have some extraordinary shots.